

Products

.svg)

.svg)
Create a store that sells and stands out.

Updated March 2026
To create a campaign, click on the “Campaigns” tab, then click on “Create Campaign” on the top right of the screen.

On the next page, name your campaign by clicking on the “Name” field and add the URL path. Click on the “Check mark” icon to save.
You can add custom tags (e.g., summer, pets, fitness) in the Tags field, but they must also be added to a Storefront page to take effect. When a campaign and a Storefront page share the same tag, the campaign will appear on that page, helping group campaigns by theme.
Note: A maximum of 20 tags can be added per campaign.

If you want your campaign to appear in your home page, select the “Add campaign to storefront homepage” box, or just add the tag “storefront” on the “Tags” field.
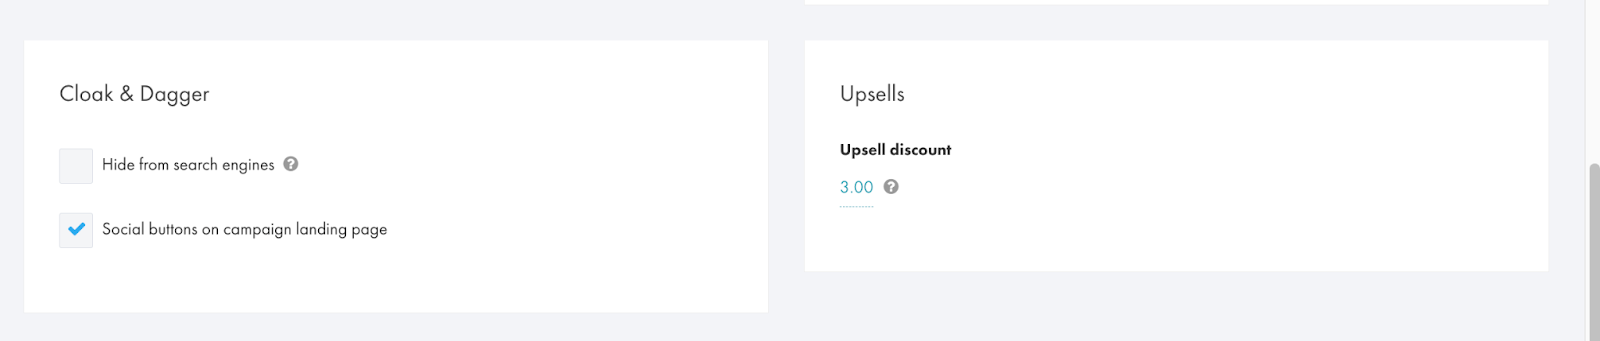
Display countdown timer: Shows a countdown timer to create urgency and encourage purchases.
Hide # of purchases: Hides the total number of purchases for the campaign.
Fudge factor: Adjusts the displayed number of purchases by adding or subtracting a value. The total will never go below zero and you can add a fudge factor up to 33 items sold.

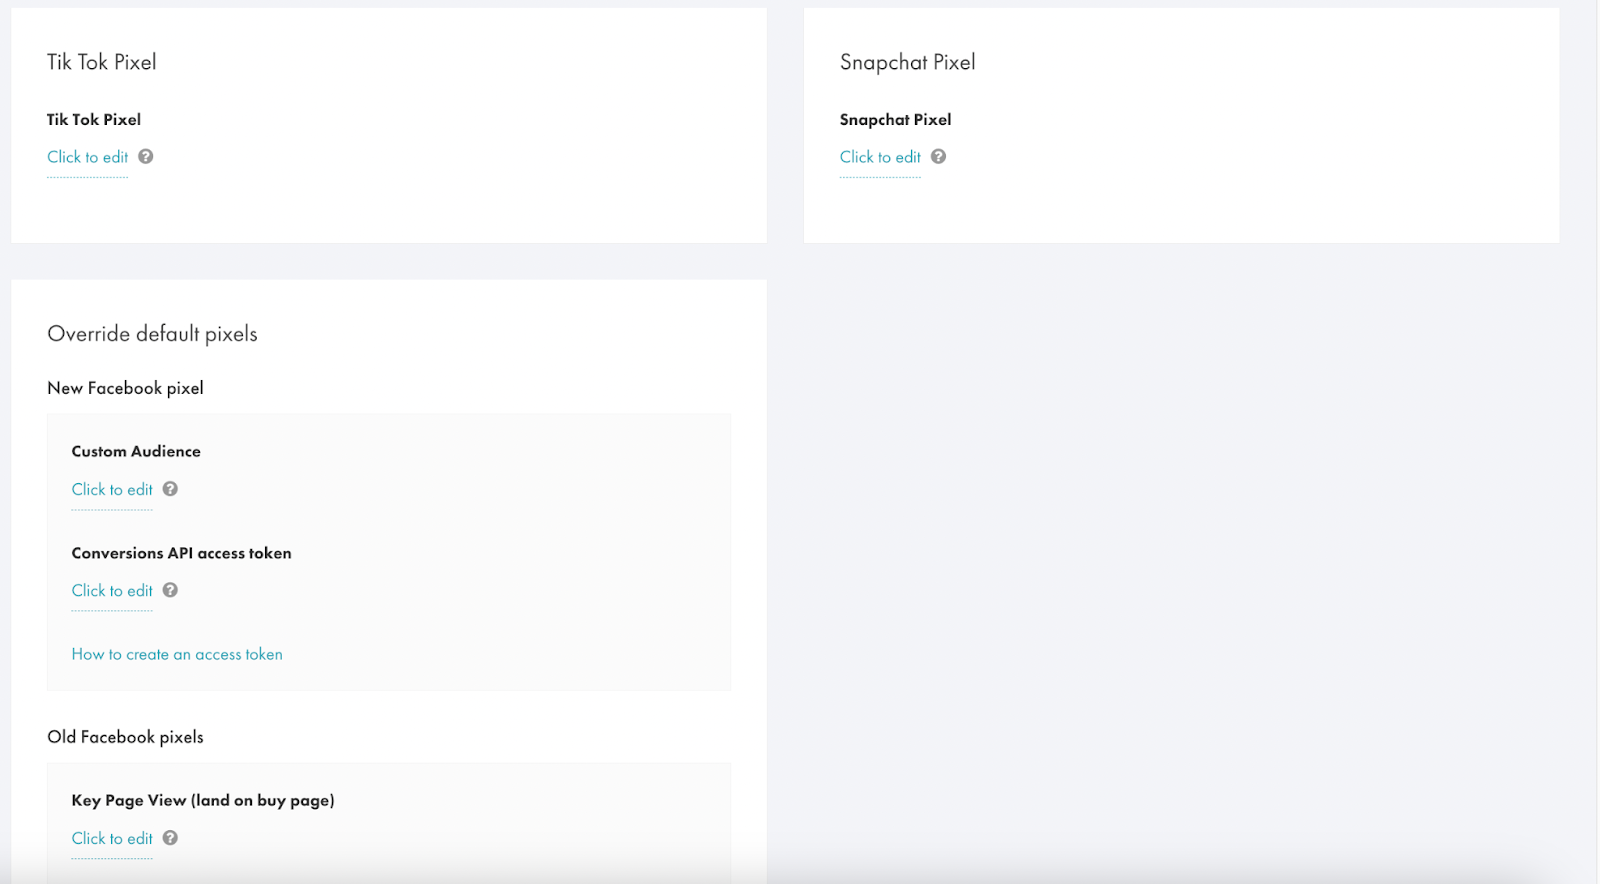
We have detailed articles on how to add TikTok Pixel, Snapchat Pixel, and Override default pixels. You can view them here:
TikTok Pixel: https://www.gearlaunch.com/academy/adding-a-tiktok-pixel-to-your-store
Snapchat Pixel: https://www.gearlaunch.com/academy/adding-a-snapchat-pixel-to-your-store
Override Default Pixels: https://www.gearlaunch.com/academy/adding-a-facebook-pixel
Add an engaging product description to display on the product page and attract customers. Then proceed to the Designer to upload your design.
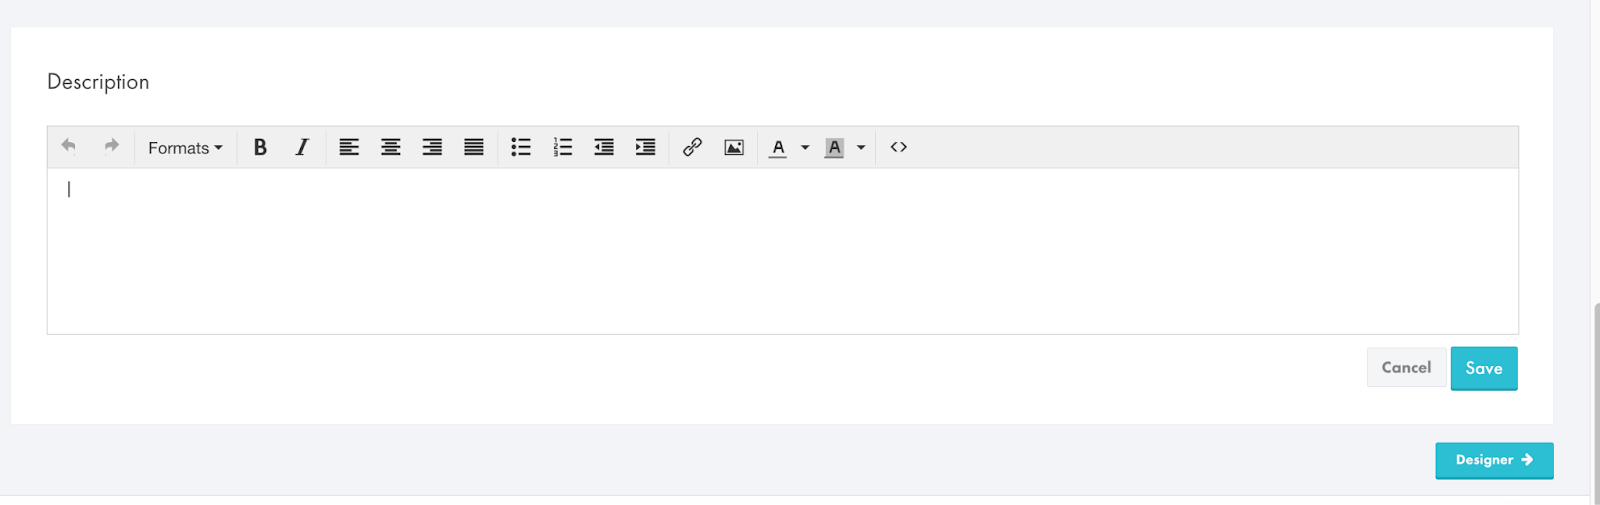
Next, click on the “Designer” button on the top right of the screen.

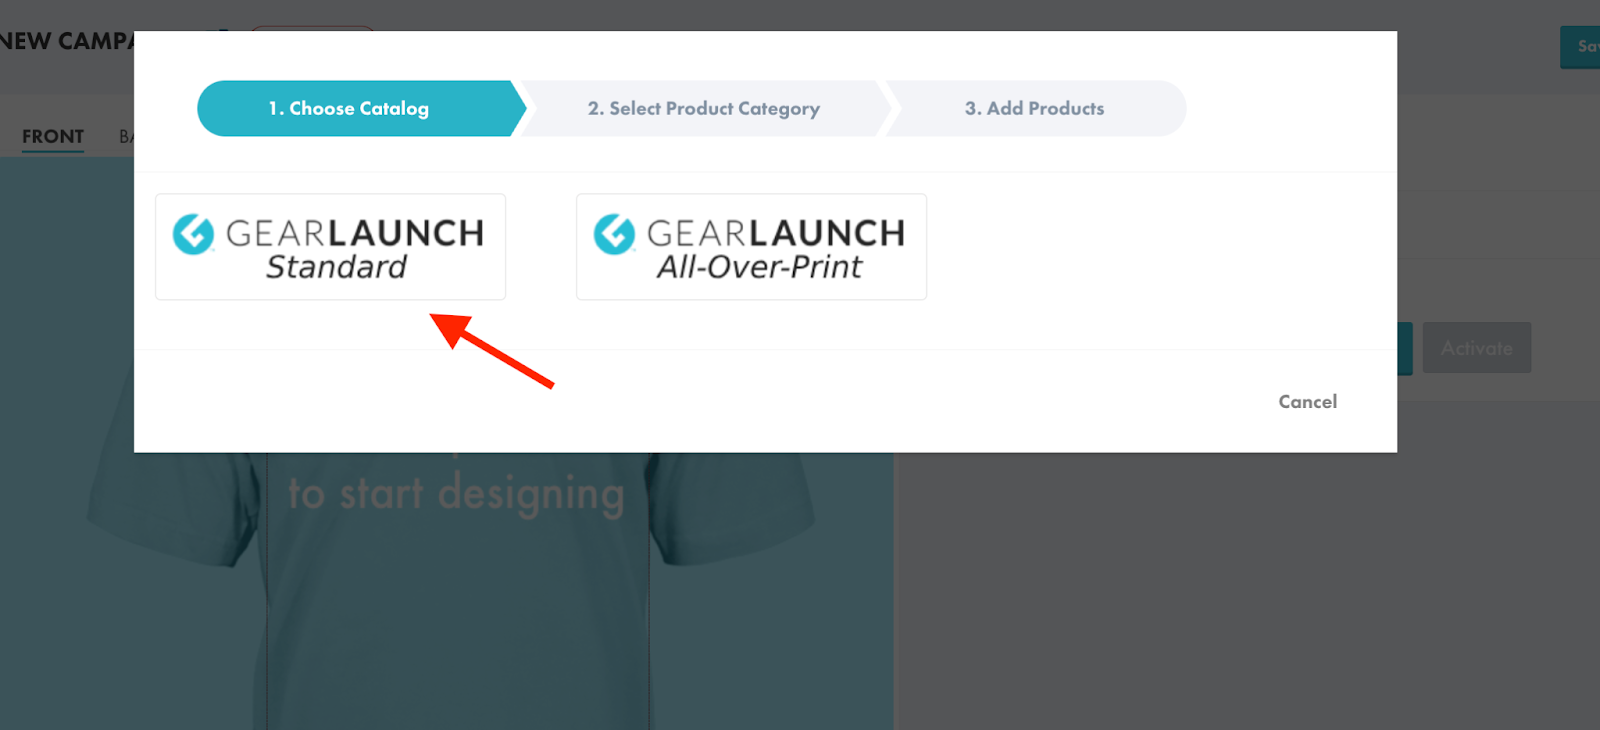
On the following page, select where your design will be printed – either front, back or both. Then, click on “Add a product to start designing.”

A new window will pop up where you can choose between Standard and All-Over-Print catalogs. We’ve created a detailed guide for AOP products, which you can find here: https://www.gearlaunch.com/blogs/how-to-create-your-first-gearlaunch-all-over-print-campaign-a-beginners-guide.
Now, let’s go through the steps to upload a design for Standard products.
After selecting a Standard product, you’ll see all available product categories. Choose the one you want, then scroll down and click “Next.”


Now, select the products you’d like to include in your campaign. You can select as many as you want. To deselect them, just click on the product again. Scroll down and click on “Add.”

After you click “Add”, you will be automatically redirected back to the “Designer” page. You will see all of the products you selected on the right side of your screen.
Now, it’s time to add your design. Scroll down and click on “Upload your original or legally purchased image.” Select the file from your computer and click on “Open.”

Your design is now uploaded.. Click on the image to position it where you want it to be printed. To adjust the size, click on the arrows icon and resize as needed. If you want to remove it or add a different design to start over, click on “Remove.”
Next, let’s select the colors of your products by clicking on “Pick colors.” Select the ones that go better with your design. You need to repeat this step with each product you added.

Now, add the price to each product. The Profit per Unit will appear below the price. If you want to add more products, just click on the “Add products” button.

You’re almost done! Scroll up and click on “Activate” to make your campaign go live. Now click on the “Save and Exit” button.

Your campaign is active now! To see it on your store, click on the link next to the campaign name.
Now you can let your customers know all about your new design.


.svg)
.svg)
.svg)